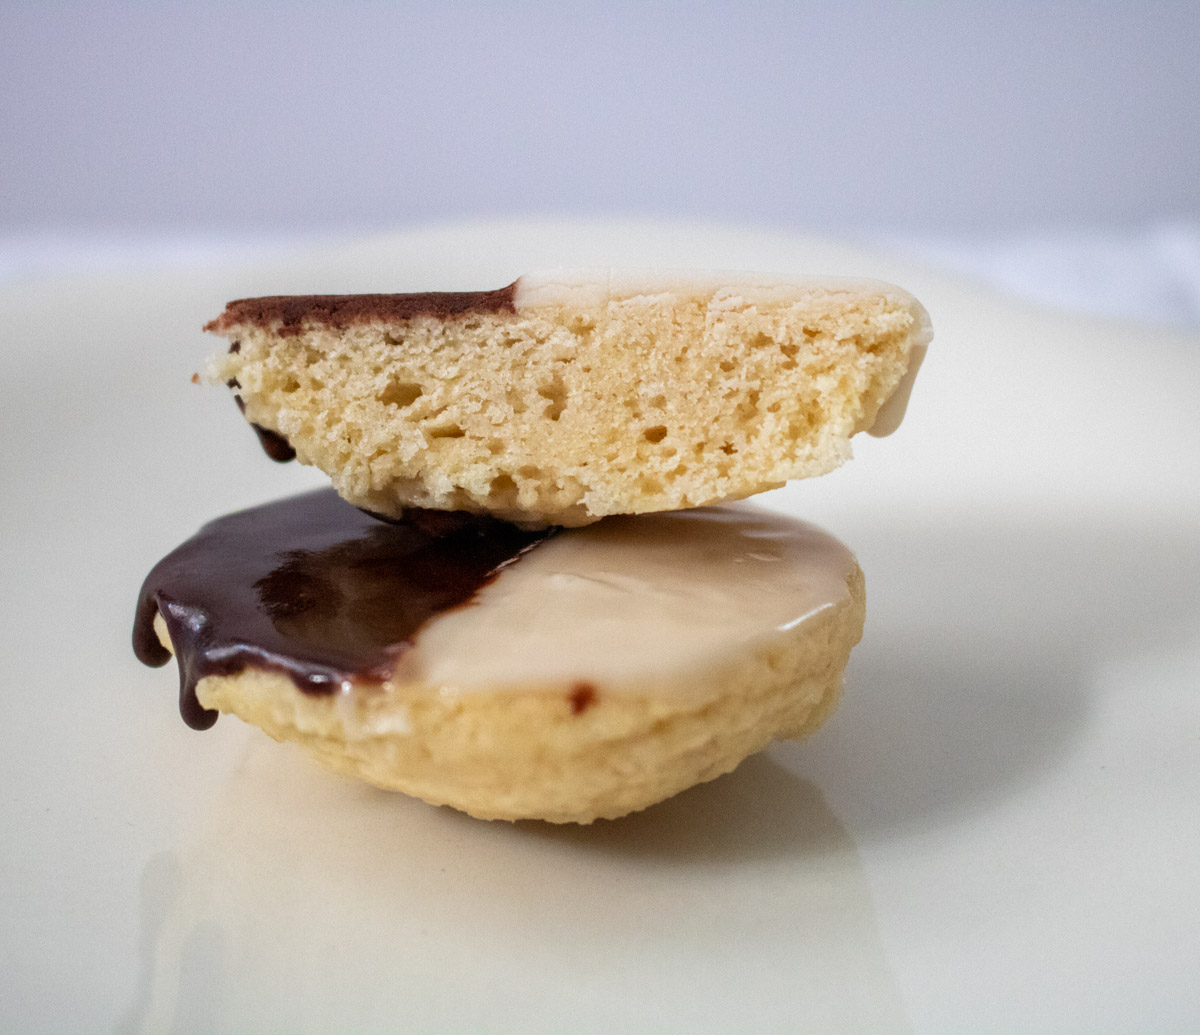
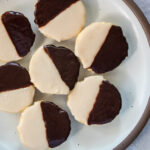
These adorable vegan mini black and white cookies have a soft, cakey texture and the iconic vanilla and chocolate icing.
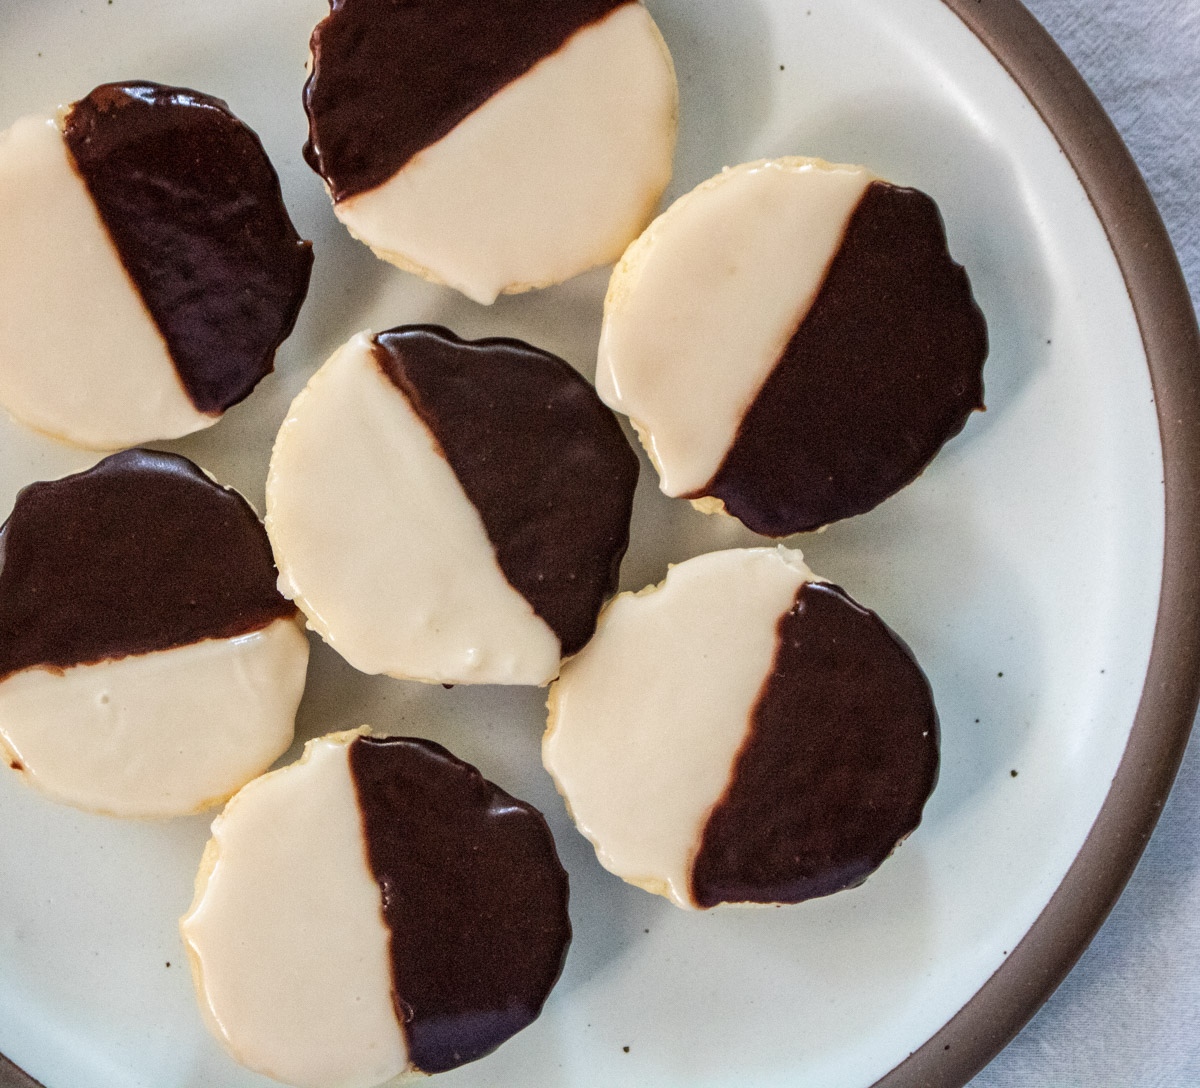
While black and white cookies can be found in many deli cases, I've never seen a vegan version in the wild. These vegan mini black and white cookies offer the soft, cakey texture of traditional black and white cookies, with an easy-to-make icing that is applied (with just a bit of care!) to create the iconic half-and-half design. See below for instructions on how to make these sweet and satisfying cookies.
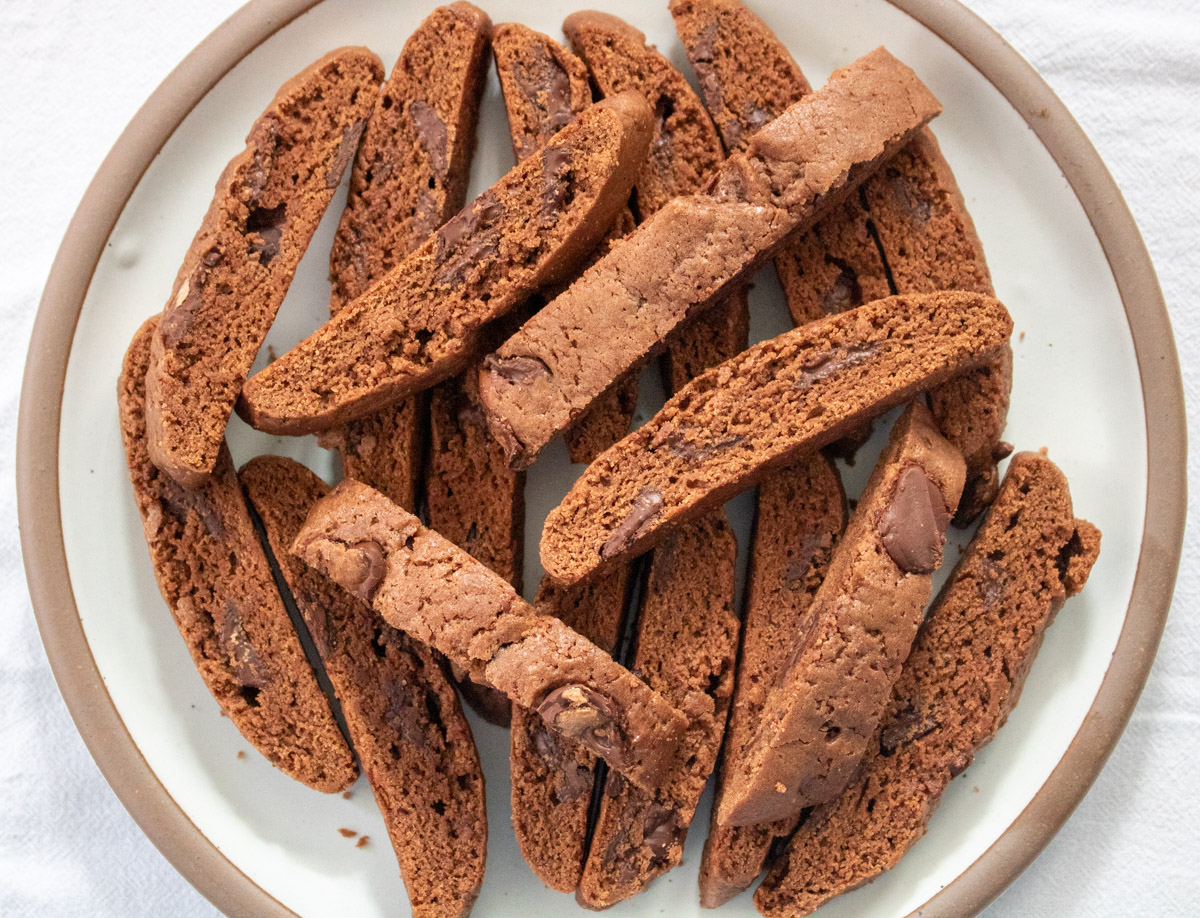
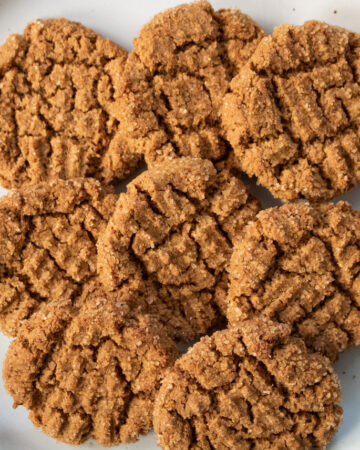
Looking for other cookie recipes? Try my Vegan Mandel Bread or Almond Butter Cookies (Passover-Friendly).
How to Make the Vegan Mini Black and White Cookies
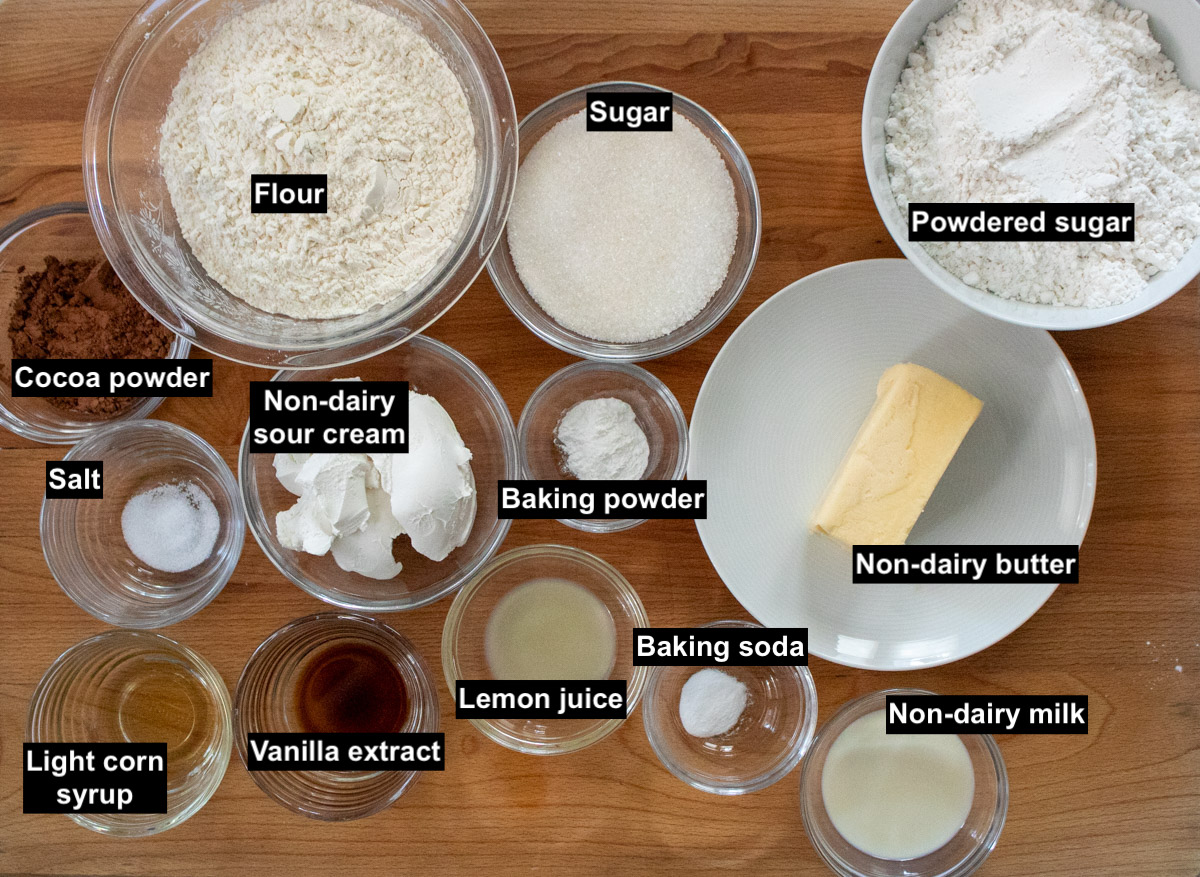
Gather your ingredients.
Make the Cookies
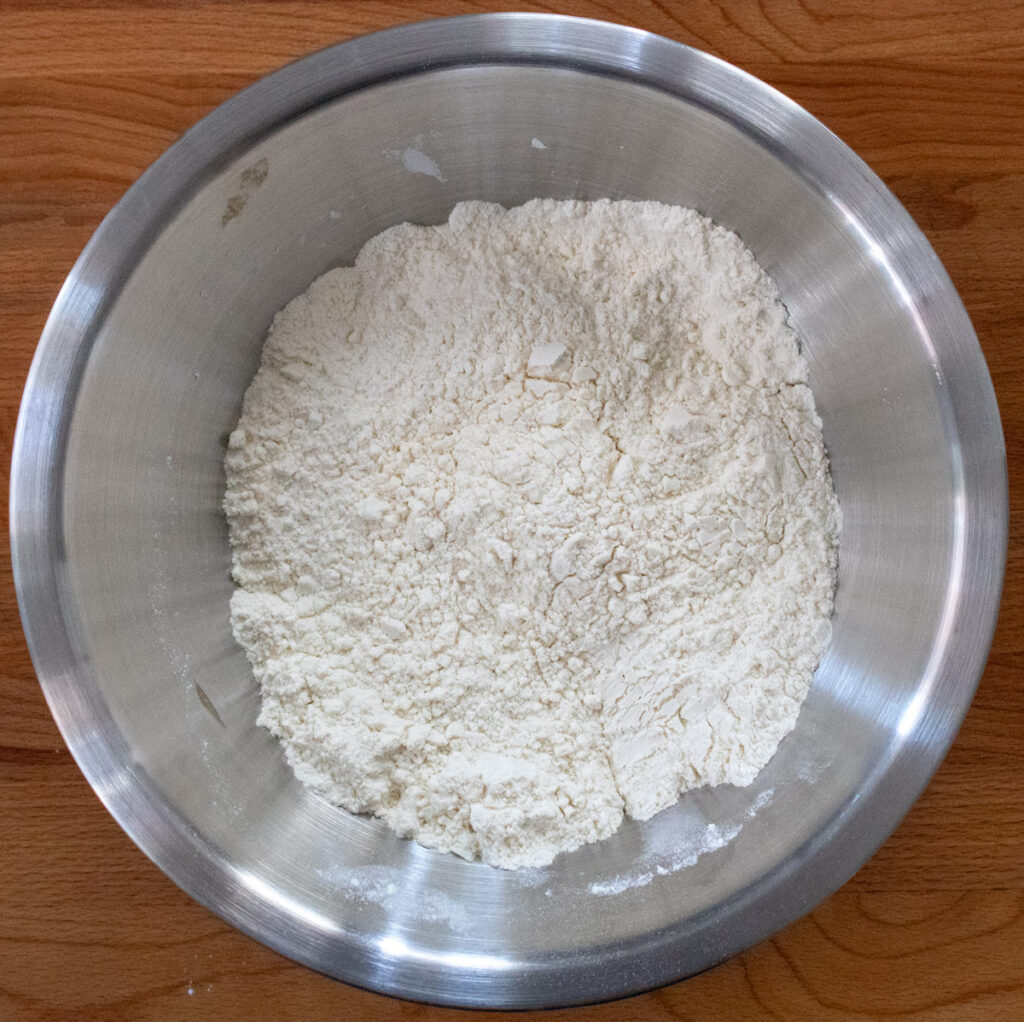
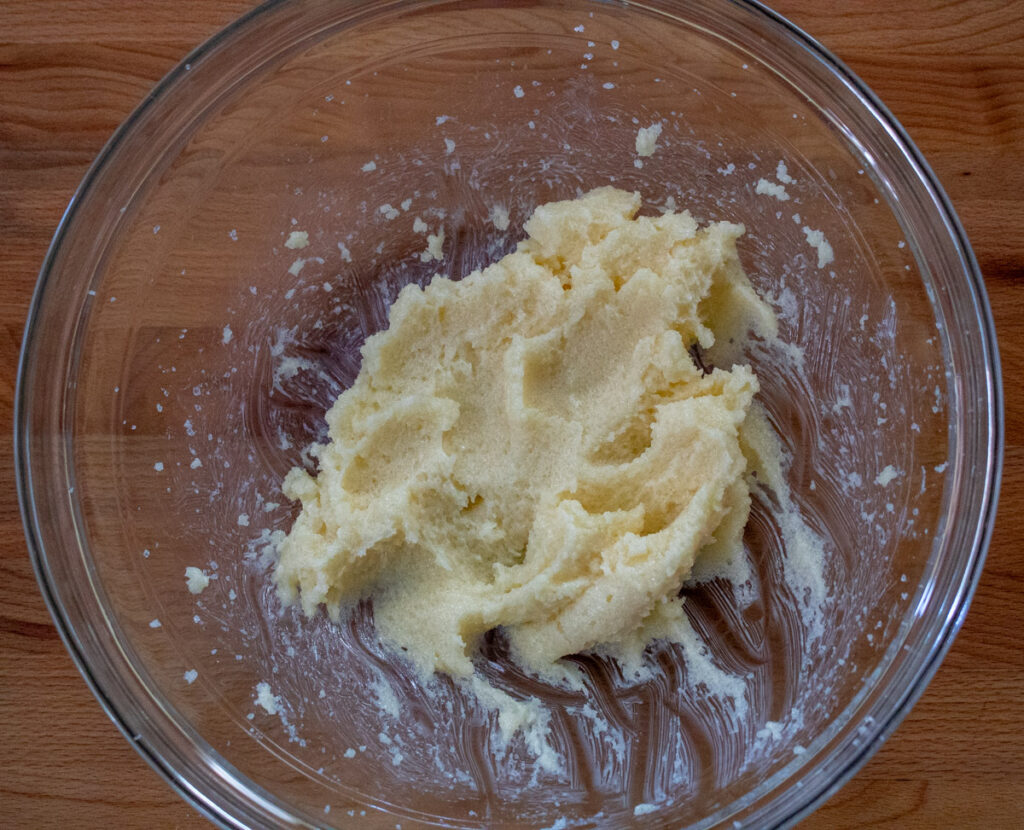
In a medium bowl, use a wooden spoon to combine the flour, baking powder, baking soda, and salt. Set aside. Place the non-dairy butter and granulated sugar in a large bowl. Use a hand mixer to cream them together until smooth and well-combined.
Add the non-dairy milk, lemon juice, non-dairy sour cream, and vanilla extract to the wet ingredients and beat with the hand mixer until completely incorporated. Add the flour mixture to the wet ingredients and beat to combine, 1-2 minutes. Cover the bowl with plastic wrap and refrigerate for at least 1 hour.


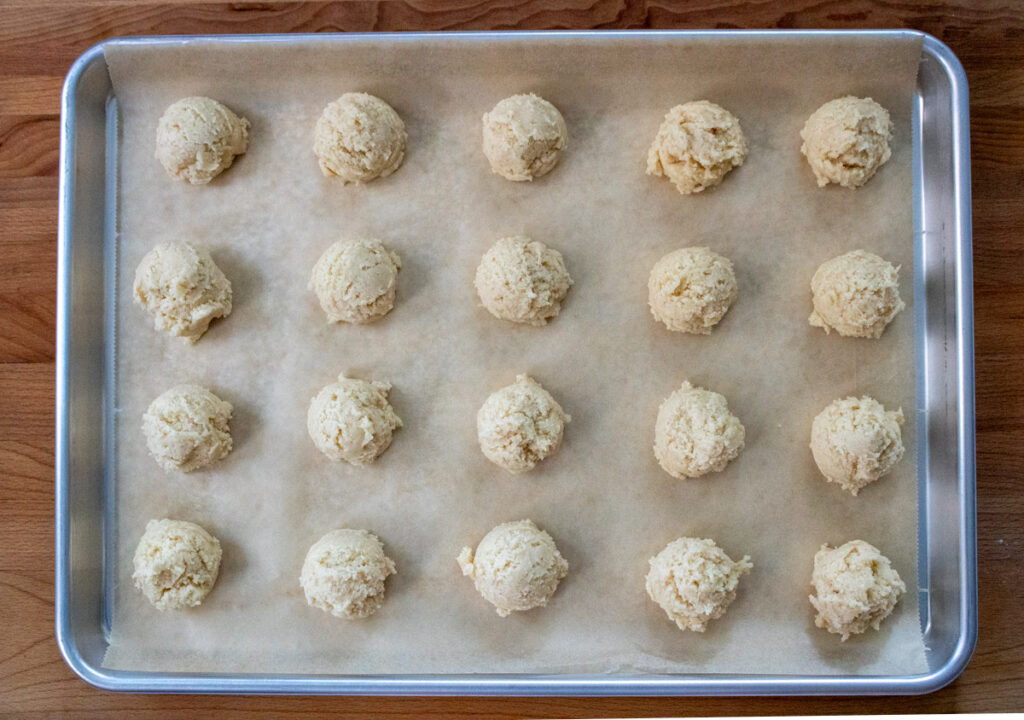
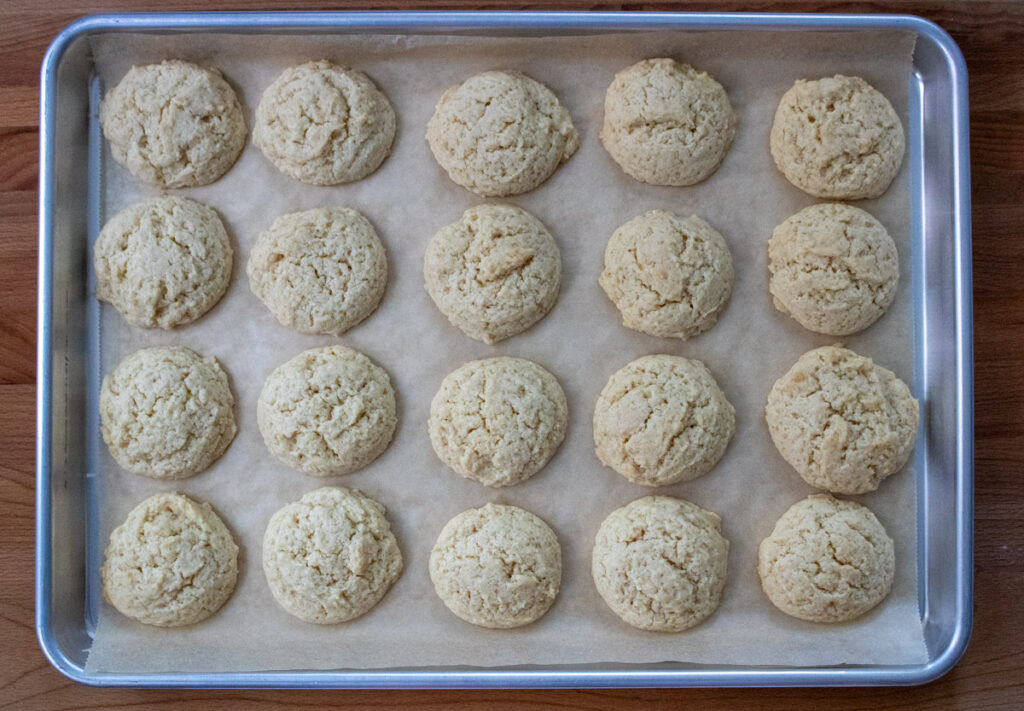
Preheat the oven. Cover a half sheet pan with parchment paper. Use a medium cookie scoop, or a scant ⅛ cup measure, to portion out the cookie dough onto the sheet pan. Bake for 18-22 minutes, until the cookies are just golden brown around the edges. Allow them to cool on the sheet pan for 15 minutes, then transfer to a cooling rack to cool completely. When the cookies are cool, turn them over, as you will be icing the (flat) bottoms of the cookies.
Make the Icing and Ice the Cookies
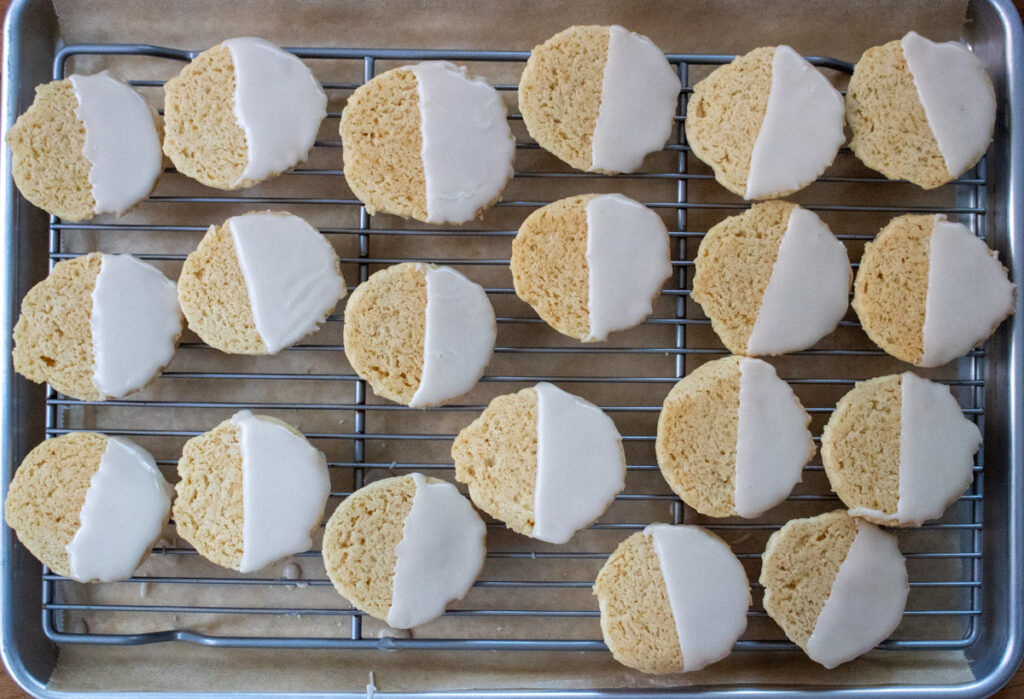
Make the icing: combine the powdered sugar with the corn syrup and 3 tablespoons of water and whisk well to combine. Using an icing spatula or small offset spatula, carefully spread the icing onto one half of a cookie bottom. Use the straight edge of a pastry cutter or parchment paper to make the icing as neat as possible. Repeat with the rest of the cookies. Note that you will have icing left over after icing the vanilla half of the cookies; this remaining icing will become your chocolate icing in the next step.
Allow the vanilla icing to fully set; this may take up to an hour or so. While the icing is setting, add the cocoa powder and another 1-2 tablespoons of water to the remaining icing and whisk well. Once the vanilla icing has set, spread the chocolate icing on the other half of each cookie. Allow the chocolate icing to fully set.
Substitutions
I used Tofutti brand sour cream, which has a nice, thick consistency. Kite Hill brand sour cream would work as well.
Corn syrup gives a nice shine to the icing. If you don't have light corn syrup or prefer not to use it, you can substitute agave (1:1) for the corn syrup in the icing.
Storage
Store the cookies in an airtight container at room temperature for up to 3-4 days.
Top tip
Make sure the vanilla icing is fully set before you apply the chocolate icing; this will keep your cookies looking sharp!
Mini Black and White Cookies
Ingredients
Cookies
- 2 cups all-purpose flour
- ¾ teaspoon baking powder
- ¼ teaspoon baking soda
- ¼ teaspoon salt
- ½ cup non-dairy butter at room temperature
- ¾ cup granulated sugar
- 4 teaspoons non-dairy milk
- 2 teaspoons lemon juice
- ½ cup (4 oz) non-dairy sour cream
- 1 teaspoon vanilla extract
Icing
- 2 cups powdered sugar
- 4-5 tablespoons water divided
- 1 teaspoon light corn syrup
- 2 tablespoons cocoa powder
Instructions
- In a medium bowl, use a wooden spoon to combine the flour, baking powder, baking soda, and salt. Set aside.
- Place the room-temperature non-dairy butter and granulated sugar in a large bowl. Use a hand mixer to cream the butter and sugar together until smooth and well-combined.
- Add the non-dairy milk, lemon juice, non-dairy sour cream, and vanilla extract to the wet ingredients and beat with the hand mixer until completely incorporated.
- Add the flour mixture to the wet ingredients and beat to combine, 1-2 minutes. Cover the bowl with plastic wrap and place in the fridge for 1 hour.
- Preheat the oven to 350℉. Cover a half sheet pan with parchment paper. Use a medium cookie scoop, or a scant ⅛ cup measure, to portion out the cookie dough onto the sheet pan.
- Bake for 18-22 minutes, until the cookies are just golden brown around the edges. Allow them to cool on the sheet pan for 15 minutes, then transfer to a cooling rack to cool completely. When the cookies are cool, turn them over, as you will be icing the (flat) bottoms of the cookies.
- Make the icing: combine the powdered sugar with the corn syrup and 3 tablespoons of water and whisk well to combine. Using an icing spatula or small offset spatula, carefully spread the icing onto one half of a cookie. You can use the straight edge of a pastry cutter or parchment paper to make the icing as neat as possible. Repeat with the rest of the cookies. Note that you will have icing left over after icing the vanilla half of the cookies; this remaining icing will become your chocolate icing in the next step.
- Allow the vanilla icing to fully set; this may take up to an hour or so. While the icing is setting, add the cocoa powder and another 1-2 tablespoons of water to the remaining icing and whisk well to combine. Once the vanilla icing has set, spread the chocolate icing on the other half of each cookie. Allow the chocolate icing to fully set.